
The Three Layers of Lighting Every Rental Home Needs
Look around your room right now. If the lighting isn’t working, the whole room feels wrong — and most of the time you can’t even put your finger on why.
It’s not the furniture. It’s not the colours. It’s the fact that you’re relying on one source of light to do a job that needs three.
This is the single most underestimated element of interior design — and, in rental homes, lighting is almost always the weakest link. The good news is you don’t need to touch a single wire to fix it.
Why rental lighting feels so flat
Most rental homes come with one ceiling light per room. Sometimes with a fitting that’s been there since the previous decade and a bulb to match.
A single overhead light source creates flat, even illumination with no depth and no warmth. It lights everything equally — which sounds logical but actually makes a room feel clinical and uninviting. It’s the lighting equivalent of magnolia walls: inoffensive, but completely without character.
Professional designers never rely on one light source. They think in layers — and once you understand the framework, you’ll never look at a room the same way again.

The three layer framework
Every well-lit room has three layers of light working together:
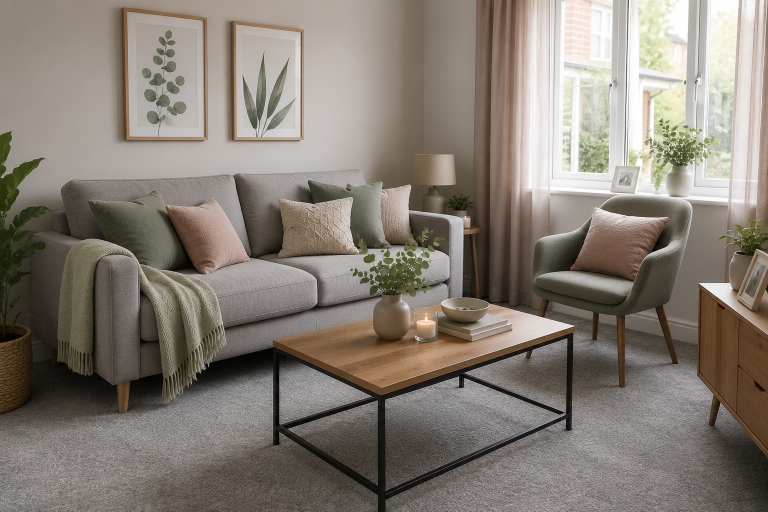
Layer one — Ambient lighting is your base layer. The overall, general light in the room. In most rentals this is the ceiling light, and it’s the layer you’re probably most stuck with.
Layer two — Task lighting is focused light for doing specific things. Reading, cooking, working, getting ready. It’s practical and purposeful.
Layer three — Accent lighting is the mood layer. The one that makes a room feel alive, warm, and considered rather than simply illuminated.
Most rental homes have layer one only. The moment you add layers two and three, everything changes.
Layer one: Getting the most from your ambient light
You’re usually stuck with the ceiling fitting itself — but you’re not stuck with the bulb.
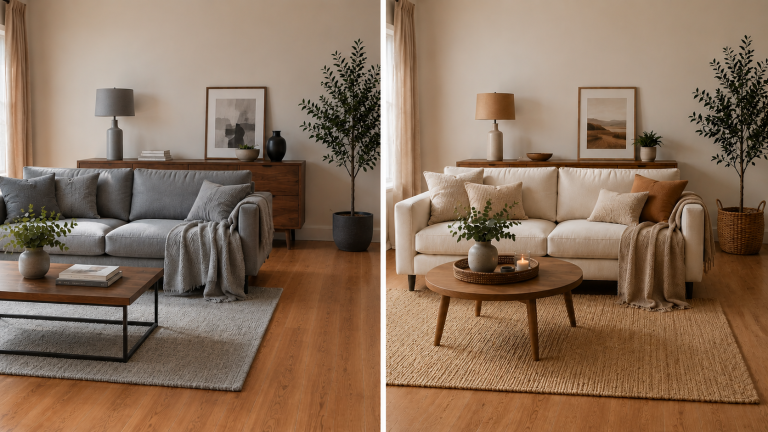
The single biggest and cheapest change you can make to any room to improve your rental home lighting is swapping the bulb for one with a warmer colour temperature. Colour temperature is measured in Kelvins — the lower the number, the warmer and cosier the light.
Aim for around 2,700 Kelvin for living spaces and bedrooms. Avoid anything above 3,500 Kelvin — that’s the harsh blue-white light that makes a room feel like a waiting room.
A warm bulb costs a few pounds and takes thirty seconds to change. The difference it makes is immediate and significant.

Layer two: Task lighting
Task lighting is specific to what you’re doing in each area of the room.
A reading lamp beside the sofa or bed. An angled desk lamp for working. Under-cabinet lighting in the kitchen for food preparation. Strip lighting inside a wardrobe.
In a rental, all of these can be achieved without drilling or wiring. Plug-in lamps, battery-powered strip lights, and rechargeable options have made this layer more accessible than ever.
The key is to think about how you actually use each area of the room — and make sure the light serves that use rather than fighting against it.
Layer three: Accent lighting
This is the layer most renters skip entirely — and it’s the one that makes the biggest difference to how a room feels.
Accent lighting draws attention to things worth looking at and creates warmth in the areas between your main light sources. It’s the light that’s on in the evening when the overhead light is off.
In practice this means:
Table lamps on side tables, shelves, or the floor — the most versatile accent light source and available in every price range.
Floor lamps that wash light up a wall or create a warm pool of light in a corner.
LED strip lighting placed behind furniture, along shelves, or under a bed frame adds a soft ambient glow that completely changes the atmosphere of a room.
Battery-powered picture lights draw the eye to artwork and add a gallery-like quality to even a simple print.
Candles — real or LED — provide the warmest light of all and cost almost nothing.
None of these require any wiring. All of them are fully deposit-safe.

Putting it all together
You don’t need to do everything at once. Start with the bulb swap in your main living space — that’s layer one improved for under £5. Then add one table lamp or floor lamp to create a warm corner — that’s layer three beginning to work.
The goal is to be able to turn off your overhead light in the evening and still have a beautifully lit room. When you reach that point, you’ll know the three layers are working.
For more on how lighting interacts with your colour choices and overall room design, take a look at my Colour Guide for Renters — it covers how to bring all the elements of a room together in a way that feels intentional and designed.
Watch the full video version on YouTube for a room-by-room walkthrough.