How to Hang a Gallery Wall in a Rental Without Losing Your Deposit
Blank walls are one of the most dispiriting things about renting. You look at them every day, you know exactly what you’d do with them, and yet they stay empty — because you’re worried about what happens when you leave.
Here’s the truth: a gallery wall in a rental home is absolutely achievable. You just need to approach it the right way — starting before you even pick up a hammer.
Step one: Check your lease first
This is the step most guides skip. It’s also the most important one.
Before you plan anything, read your tenancy agreement. Look for clauses about picture hanging, wall fixings, and making good. Some leases specifically allow small nail holes. Others require written permission for anything beyond that. A few are entirely silent on the matter — in which case it’s worth asking your landlord directly and getting the answer in writing.
Knowing exactly what you’re working with changes every decision that follows. It’s also the difference between a deposit deduction and a successful move-out.

Step two: Plan before you hang
The biggest gallery wall mistake — renter or not — is going straight to the wall without a plan.
A well-designed gallery wall in a rental follows a few key principles:
Eye level is everything. The centre of your arrangement should sit at roughly 145–150cm from the floor — average eye level when standing. This is the rule professional designers use and it immediately makes a wall look considered rather than random.
Odd numbers feel more natural. Groups of three, five, or seven frames tend to feel more balanced than even numbers.
Vary your frame sizes. A mix of large, medium, and small creates visual interest. All the same size feels flat.
Keep your spacing consistent. Gaps of 5–8cm between frames gives a clean, intentional look. Too tight feels cluttered. Too spread out loses the sense of arrangement.
Establish your largest piece first. Place your biggest frame at the centre or slightly above centre of your arrangement and build around it.
Step three: Choose your layout style
There are five main gallery wall layouts — and the right one depends on your wall space and your personal style.
Grid — identical frames in uniform rows and columns. Clean, modern, and satisfying. Works best with a series of related images.
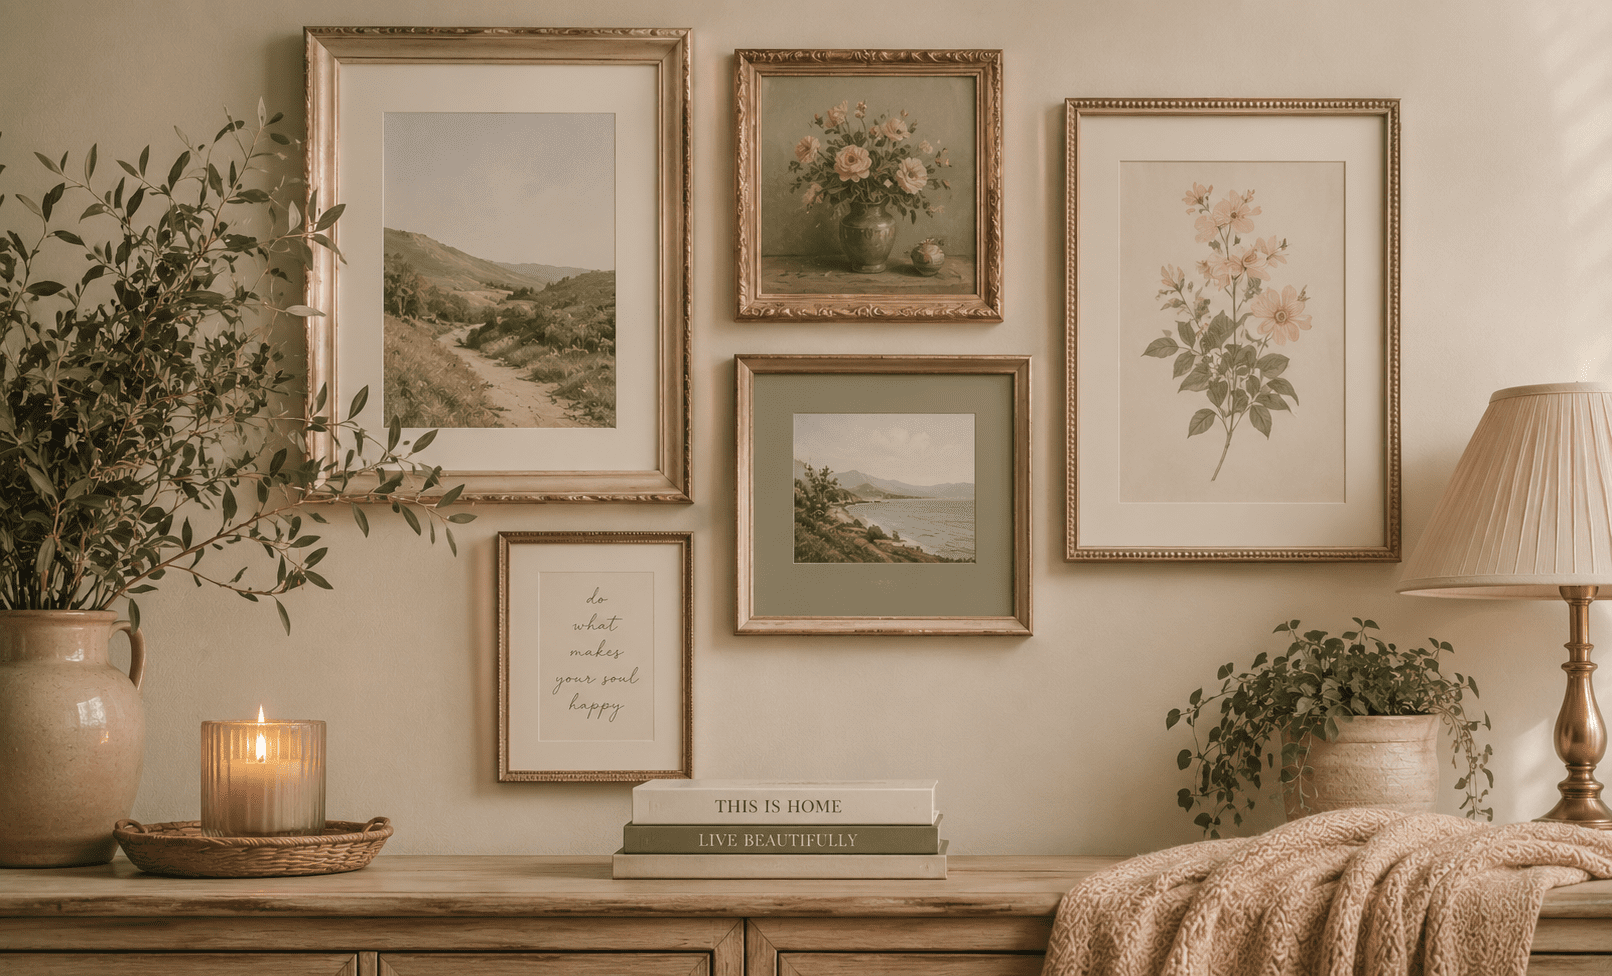
Salon style — an eclectic mix of different frame sizes and orientations arranged as a loose cluster. The most forgiving layout and the most personal.
Linear — frames arranged in a single horizontal or vertical line. Works beautifully in hallways and stairwells.
Asymmetric cluster — a deliberately uneven arrangement that feels curated and considered. Harder to pull off but very effective.
Ledge lean — frames propped on picture ledges rather than hung at all. Completely hole-free, endlessly rearrangeable, and one of the best options for renters.
Step four: How to hang without drilling

If your lease doesn’t allow drilling — or you’d rather not — there are genuinely good options.
Adhesive strips such as Command strips are the most popular choice and have improved significantly in recent years. They hold more weight than most people expect — check the weight rating on the pack and stay within it. Always follow the application instructions precisely: clean the wall thoroughly first, press firmly for the full recommended time, and leave the full curing time before hanging.
Picture hanging strips work similarly and are designed specifically for frames.
Adhesive hooks work well for lighter pieces and can be repositioned without damage if removed correctly.
Picture ledges are the most versatile no-drill option. A single ledge — which requires only a couple of small screws that can be filled on departure — lets you arrange and rearrange as many frames as you like with no additional wall contact.
Step five: How to hang if you can drill
If your lease allows drilling, or your landlord has given written permission, a properly hung gallery wall will be more secure and more flexible in terms of weight.
The key is knowing your wall type. Plasterboard requires specialist hollow wall fixings — a standard nail or screw will pull straight through under the weight of a frame. Solid brick or block walls need a masonry drill bit and a wall plug before any screw goes in.
A simple trick for getting your layout right before committing: cut paper templates the same size as each frame, tape them to the wall with masking tape, and live with the arrangement for a day or two before drilling anything. You’ll almost certainly move things once you see them at full scale.
When you do hang, keep a record of every hole — location, size, and the fixing used. Take photographs before you hang and after. This is your evidence that the wall was in good condition and that you made good any fixings — invaluable at check-out.

Step six: The hanging process
Once your layout is planned and your method is chosen, here’s the process in order:
Start with your largest piece and hang it first. Work outward from there rather than trying to fill in gaps. Step back regularly — what looks right up close can look very different from across the room. Use a spirit level even if your eye tells you something looks straight. Check your spacing as you go. Hang everything before you commit to anything permanent — if using adhesive, wait until you’re certain before pressing firmly.
Protecting your deposit
Keep every receipt for fixings and frames. Photograph the wall before you start. Photograph the finished wall. When you move out, fill any nail holes with a small amount of ready-mixed filler, sand smooth, and touch up with matching paint if you have any — most landlords keep a small tin for this purpose and will share it if you ask.
Small, carefully made holes that have been properly filled are rarely the cause of deposit disputes. Large numbers of unfilled holes, damaged plasterboard, or adhesive strip residue on paintwork are. Do it carefully and document everything.
If you want a complete step-by-step planning tool including a layout worksheet, a nail height formula, and a deposit protection checklist, my Gallery Wall Guide for Renters covers all of it in one place.
Watch the full video on YouTube for a visual walkthrough of every layout style.